Tuesday, April 30, 2013

Salmon with Pineapple Salsa and Cilantro Lime Rice

It's rainy here in Florida and I really wanted a meal that would brighten up an otherwise gloomy day.  This salmon with pineapple salsa and cilantro lime rice was exactly what I needed!  I used two recipes I found online:  one for the salmon and salsa and another for the rice...always have to give credit where it's due!  I did tweak them a little, though.  Anyway....


Here's what you need:
4 salmon fillets, skin off
1 cup uncooked rice
2 cups water
3 tablespoons olive oil, divided
2 tablespoons lime juice
1 cup finely chopped pineapple, fresh is best
1/4 cup finely chopped onion (original recipe calls for red onion, I used yellow)
1 tablespoon white wine vinegar (original recipe calls for rice vinegar, you could probably use red wine vinegar as well)
1 teaspoon cayenne pepper (more or less to taste)
1 tablespoon soy sauce
handful of fresh cilantro, chopped finely
salt and pepper


1.  Cook rice according to package instructions (I used a rice cooker).
2. While the rice is cooking, combine pineapple, onion, cayenne, half of the cilantro and vinegar.  Mix well and set aside.
3.  In a small bowl, combine two tablespoons of oil, lime juice, and the rest of the cilantro.  Mix well and set aside.
4.  Heat 1 tablespoon of oil in a nonstick pan over medium heat.  Season salmon with salt and pepper.
5.  Add salmon to pan carefully.  Douse with soy sauce and cook on each side for approximately 4 minutes. Time will vary depending on the size and thickness of your fish.  
6.  Once your rice is finished cooking, add the oil/lime/cilantro mixture and mix thoroughly.
7.  Top rice with salmon and salsa; serve hot.  Enjoy!


Doesn't that look pretty?  I served it alongside a side salad of leaf lettuce tossed in a chipotle cheddar dressing and topped with avocado slices.  I paired the whole meal with a crisp white wine from a local vineyard...delicious!

Also...if  you're like me and have a little one to feed, ingredients in this meal are very kid-friendly when separated.  Our little guy, nearly 18 months old, feasted on the rice (as prepared), chunks of pineapple, chunks of avocado, and a little of the salmon.  Not spicy and easily identified so it's not scary to picky eaters.

High Impact, Low Cost...Lighting makes a difference!

There are many details (read: things to spend money on) when you get married.  If you're trying to stay on a budget, one decor item you can make a big difference with and not break the bank is with lighting!  Lighting adds ambiance, color, design, etc...and usually doesn't take up too much space, either!  We were fortunate to have found a venue (Gallery J) who already had a lot of lighting in place already, but we did add some of our own.

Cafe Lights
These are a big nicer, in my opinion, than regular old twinkle lights.  These were already in place for us...score!
Cafe lights on the railing of the loft space. 

Twinkle Lights
These are less expensive than the above mentioned cafe lights.  You can find them anywhere, and you probably have some that you use for holiday decorating.  These were also already installed by our venue!
Twinkle lights on the lattice on either side and around doors.
Candles
The ultimate tool for upping the romance factor at any event.  Cheap and easy to come by in a variety of shapes, sizes, colors and even fragrances, these are an awesome addition to any decor at your wedding!
Floating candles in vases with orchids surrounded our altar space.  Floral design by Flower No. 5.

Spotlight and Gobos
These, you'll definitely have to rent.  A spotlight is fairly cheap and easy to set up and operate.  Some DJs will have these already, but double check to be sure.  It's great for when you're doing your first dance, toasts, and other special moments (garter toss, cake cutting, etc). 

Gobos are these nifty little things that slide over a special light (again, must be rented, but not very expensive) that project an image or text onto a wall or floor.  These are a great way to personalize your wedding without spending a lot.  We rented the light and purchased a custom gobo with our names on it. 


Uplighting
This is a fantastic way to add color and serious drama to your event space!  We didn't use this at ours because, as you can see, our space had enough drama all on it's own!  However, if your using a 'blank canvas' sort of space, it can add a lot of color without a lot of fuss.
Photo from rdedj.com 
All photos, unless otherwise credited, are from Norman Yu Photography.  Event location (except for last photo) taken at Gallery J in Winter Springs, FL.


Tuesday, April 9, 2013

Free Online Photo Editor!

Now you know when I find a nifty freebie, I like to pass it along, right?  Well here's another one that I've grown to LOVE.  If you like to fiddle around with your photos, you have to check out www.picmonkey.com.  They have tons of cool effects and doodads that you can add to your pics as well as a function that allows you to create photo collages.  Here are a couple examples of what I was able to create:
Collage:  each individual photo was also edited using picmonkey


Before
After

Check this out!

I want to share with you a new YouTube channel that features a good friend of mine sharing her makeup tips.  She's only got one video up at the moment and it's fantastic!  I have to tell you, this girl knows her stuff...every time I see her she's got a flawless look!  If you're interested in learning more, please visit her page: http://www.youtube.com/user/DarlyneBeauty.

Tshirt quilts for people who don't quilt...or sew...Part One

As many of you know, my dad passed away last year.  What you may not know is that he was a huge St. Louis Cardinals fan!  When we went through his belongings, we got rid of most of his clothing, but couldn't bear to part with his Cardinals garb.  We ended up with two black garbage bags FULL of shirts.  While we're fans as well, there was just no way my sister or myself were going to wear that many old tshirts.  So naturally, we sought out a way to keep them without wearing them.  The obvious choice was a tshirt quilt!  My husband's grandmother has made them in the past and I asked for her help.  She provided me with a cutting mat, rotary cutter, and a ruler...and a book with instructions.  I skimmed the book and then just kind of...did it.  Here's how:

1.  Gather your shirts.
I used 16 large shirts for one blanket. I washed and dried them and stacked them flat so they wouldn't wrinkle.  You may want to iron them, but I didn't...you have to be careful to not iron certain designs as they can't stand up to direct heat.
Just a small selection of the tshirts I used...


2.  Decide how big you want your quilt and squares to be.
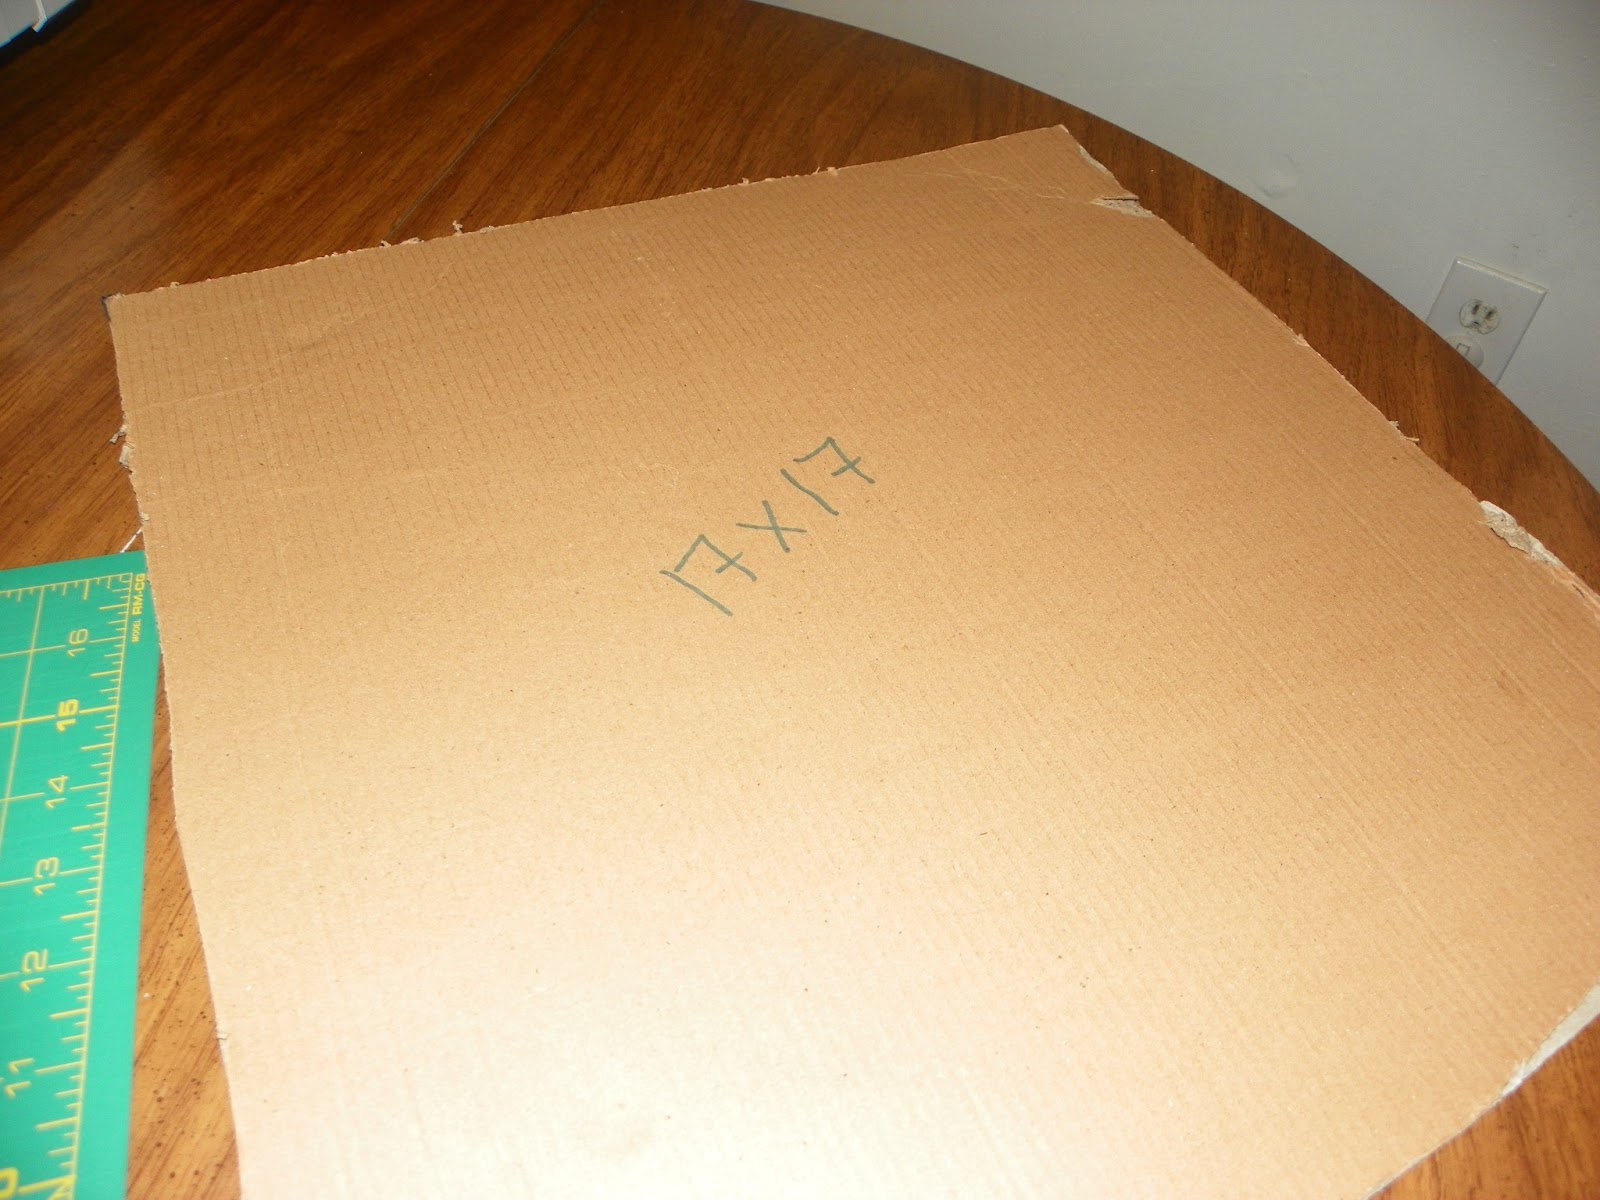
I did a 64"x64" quilt...so I wanted all of my squares to be 16" when sewn.  I gave myself a 1" seam allowance on all sides, so when I cut my squares, they were 17"x17".  Yes, a 1 inch seam allowance is larger than normal...but I don't sew, so I gave myself extra space.
My template

3.  Measure and cut your squares.
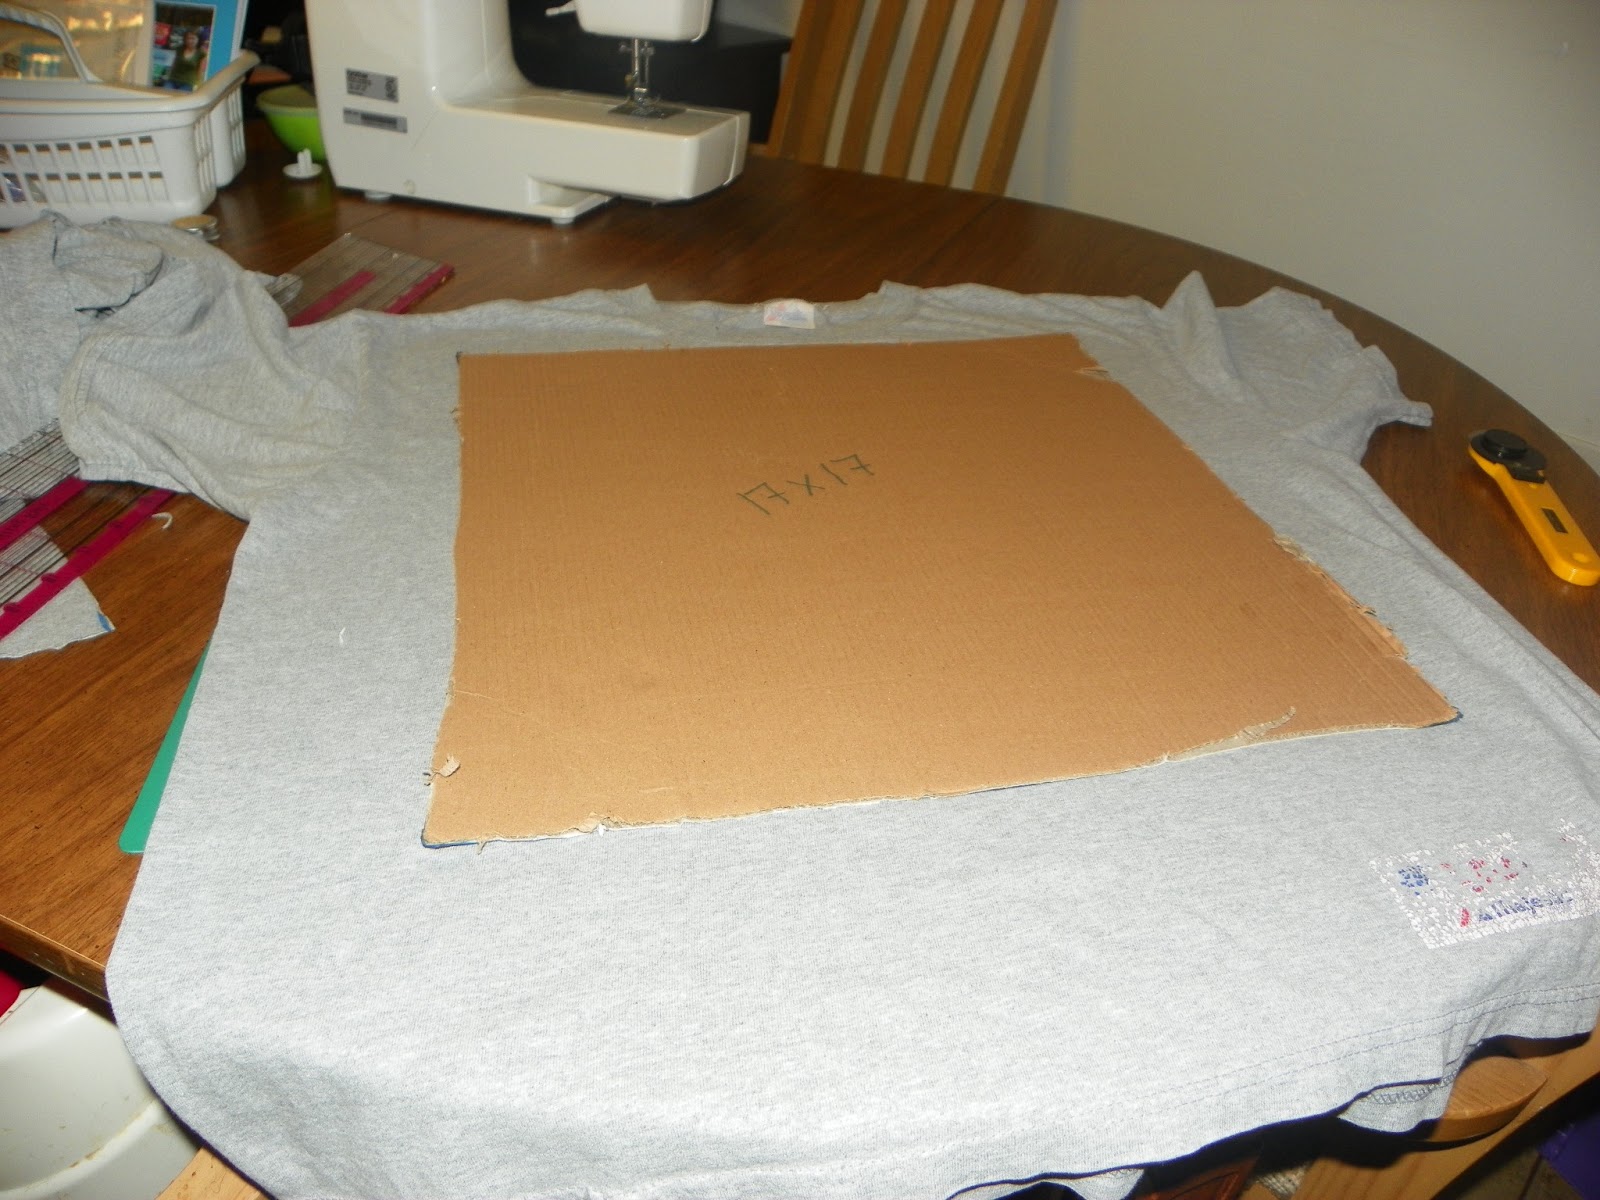
To make it easier on myself, I made a template of my squares on a piece of cardboard.  I simply laid the template over the area of tshirt I wanted as a square marked the corners with a marker.  Using the ruler and the rotary cutter, I cut out the squares.  Once you've cut all squares, make sure you lay them flat so they don't wrinkle.


SEI White Sewing Table OC9665R (Google Affiliate Ad)

4.  Lay out your squares.
I drew myself a diagram to determine what colors would go where and then I laid my squares out on a clean blanket to get a feel for how the finished product would look.  Then, you can sew your squares together one row at a time.

5.  Sew your rows.
Your tension setting will have to be adjusted based on how stretchy your shirts are.  I'd recommend using your scraps to test it out before sewing the actual squares...these seams are REALLY hard to rip out!
**The hubby's grandma told me that you're supposed to press your seams...I didn't and it turned out ok, not perfect, but ok...so yeah...press your seams...mm-kay?
This is about half of my scraps...use these to test your tension!


6.  Sew rows together.
The middle rows are sewn together the top and bottom are just laid out...you get the idea :-)

7.  To be continued...
Now that my tops are sewn together, I need to pick out batting, backing and the edging...we'll continue this on another post!

Post Wedding Wrap Up

Hi All,

As you know, we got married!  I will be posting pics as soon as they come in, but for now, I'd like to share a few things...things that, had I to do it over again, I would change.

1.  I would have hired a wedding planner/coordinator.
No, I didn't need help planning my wedding...I actually found it to be pretty easy.  However, having someone on the big day to keep everything and everyone organized is something we really could have used.  There were a lot of things that went wrong that would have been avoided if we had someone like this.

2.  I would have hired all professionals.
I didn't heed the advice of nearly every wedding article and hired a few non-professionals who we knew personally.  Without going into any details or naming names, big mistakes were made by these people and there's nothing we can do about it now.  In addition, we were told to 'pay what we felt was fair' and it's now become an issue because we felt their job was done poorly.  So yeah...pay for the professional and avoid a headache later.

3.  Have plans in place for keepsake preservation before the wedding.
After the wedding, we toyed with the idea of getting my bouquet preserved.  However, flowers don't last forever and in the time we spent deciding if spending an extra $500 was something we were willing to do in order to keep those flowers forever, the flowers started to wilt.

4.  I would have spent more time enjoying my reception.
After pictures, we sat down to eat and I only got halfway through my food before I saw a few of our older guests getting up to leave.  Not wanting anyone to leave without getting to at least say 'hi', I abandoned my food...by the time I got back, my plate had been cleared.  So I really didn't get to eat hardly any of the food we paid for!  I also spent so much time running around that I didn't get to dance much, which was kind of a bummer.


All in all, yes, there are things I would change.  However, there are also a lot of things I wouldn't change...at the end of the day, we were finally married and we got to do so in the company of our closest friends and family.  The further away from the wedding we get, the more I forget about the things that went wrong and remember the good moment...walking down the aisle, saying our vows, our first dance...and the feeling that this was a great day.