Tuesday, April 9, 2013

Free Online Photo Editor!

Now you know when I find a nifty freebie, I like to pass it along, right?  Well here's another one that I've grown to LOVE.  If you like to fiddle around with your photos, you have to check out www.picmonkey.com.  They have tons of cool effects and doodads that you can add to your pics as well as a function that allows you to create photo collages.  Here are a couple examples of what I was able to create:
Collage:  each individual photo was also edited using picmonkey


Before
After

Check this out!

I want to share with you a new YouTube channel that features a good friend of mine sharing her makeup tips.  She's only got one video up at the moment and it's fantastic!  I have to tell you, this girl knows her stuff...every time I see her she's got a flawless look!  If you're interested in learning more, please visit her page: http://www.youtube.com/user/DarlyneBeauty.

Tshirt quilts for people who don't quilt...or sew...Part One

As many of you know, my dad passed away last year.  What you may not know is that he was a huge St. Louis Cardinals fan!  When we went through his belongings, we got rid of most of his clothing, but couldn't bear to part with his Cardinals garb.  We ended up with two black garbage bags FULL of shirts.  While we're fans as well, there was just no way my sister or myself were going to wear that many old tshirts.  So naturally, we sought out a way to keep them without wearing them.  The obvious choice was a tshirt quilt!  My husband's grandmother has made them in the past and I asked for her help.  She provided me with a cutting mat, rotary cutter, and a ruler...and a book with instructions.  I skimmed the book and then just kind of...did it.  Here's how:

1.  Gather your shirts.
I used 16 large shirts for one blanket. I washed and dried them and stacked them flat so they wouldn't wrinkle.  You may want to iron them, but I didn't...you have to be careful to not iron certain designs as they can't stand up to direct heat.
Just a small selection of the tshirts I used...


2.  Decide how big you want your quilt and squares to be.
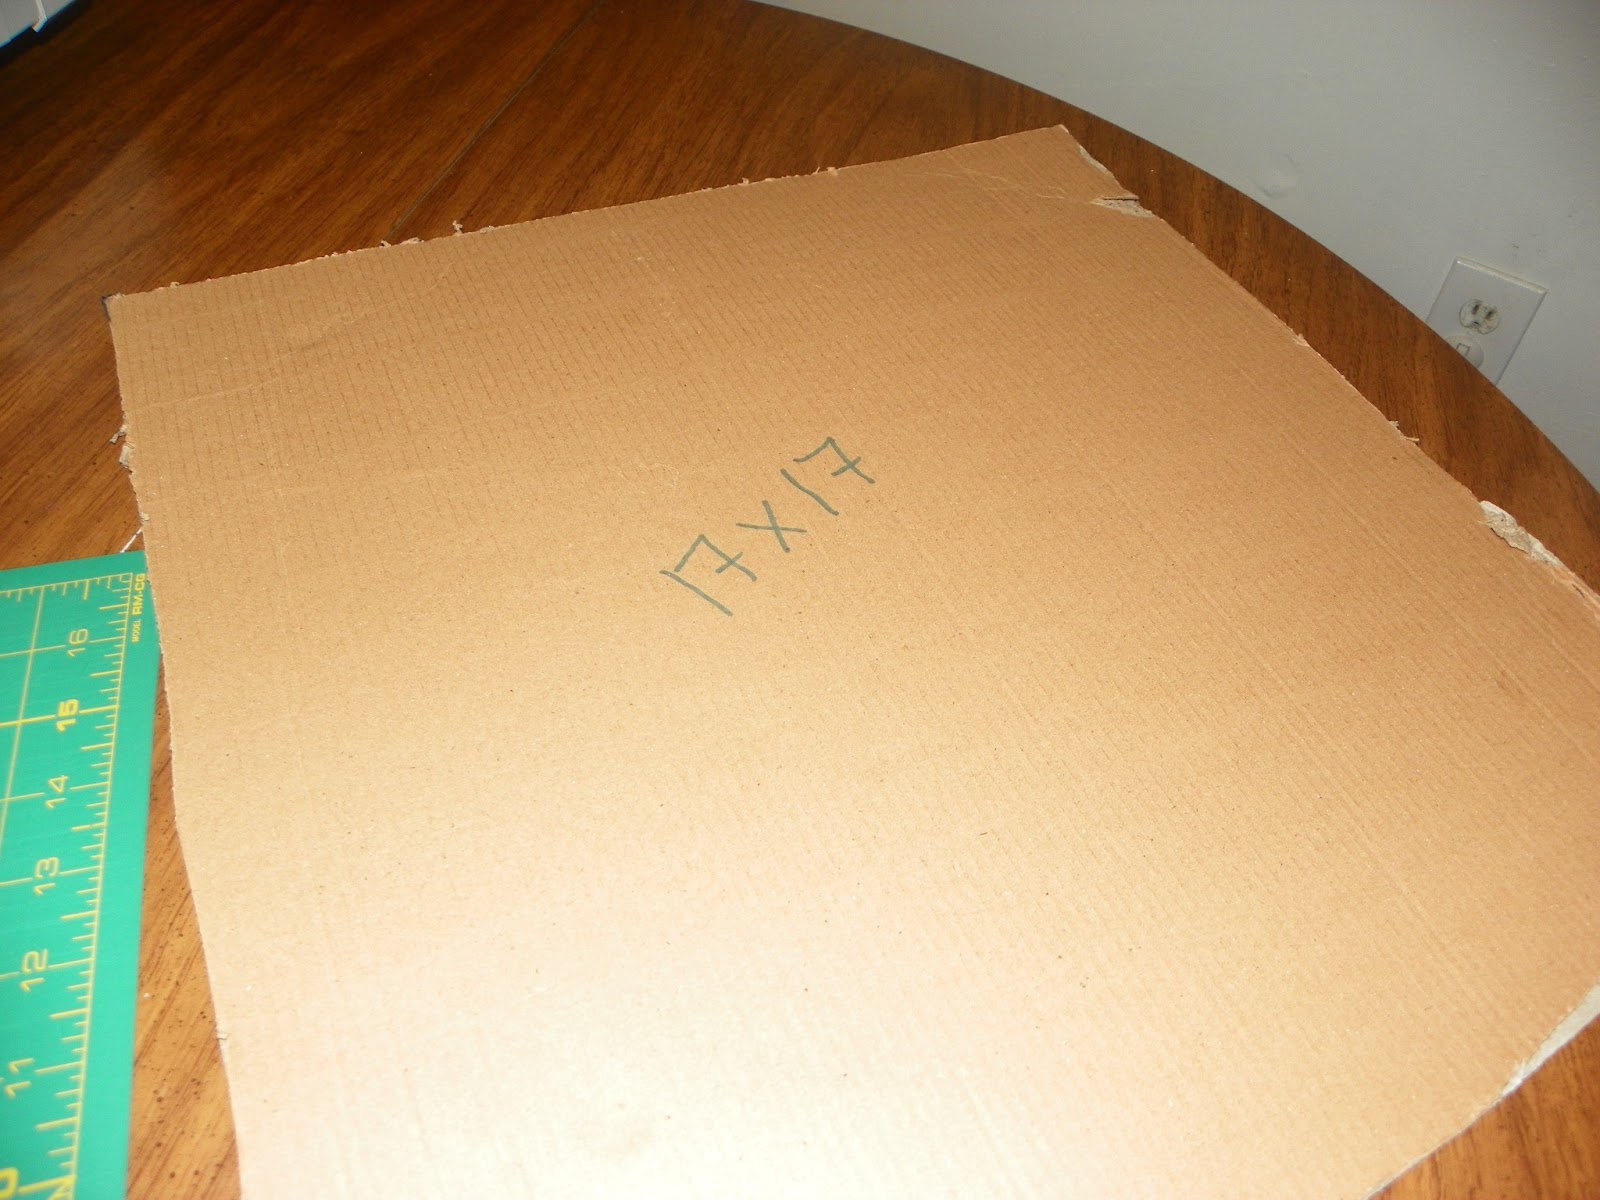
I did a 64"x64" quilt...so I wanted all of my squares to be 16" when sewn.  I gave myself a 1" seam allowance on all sides, so when I cut my squares, they were 17"x17".  Yes, a 1 inch seam allowance is larger than normal...but I don't sew, so I gave myself extra space.
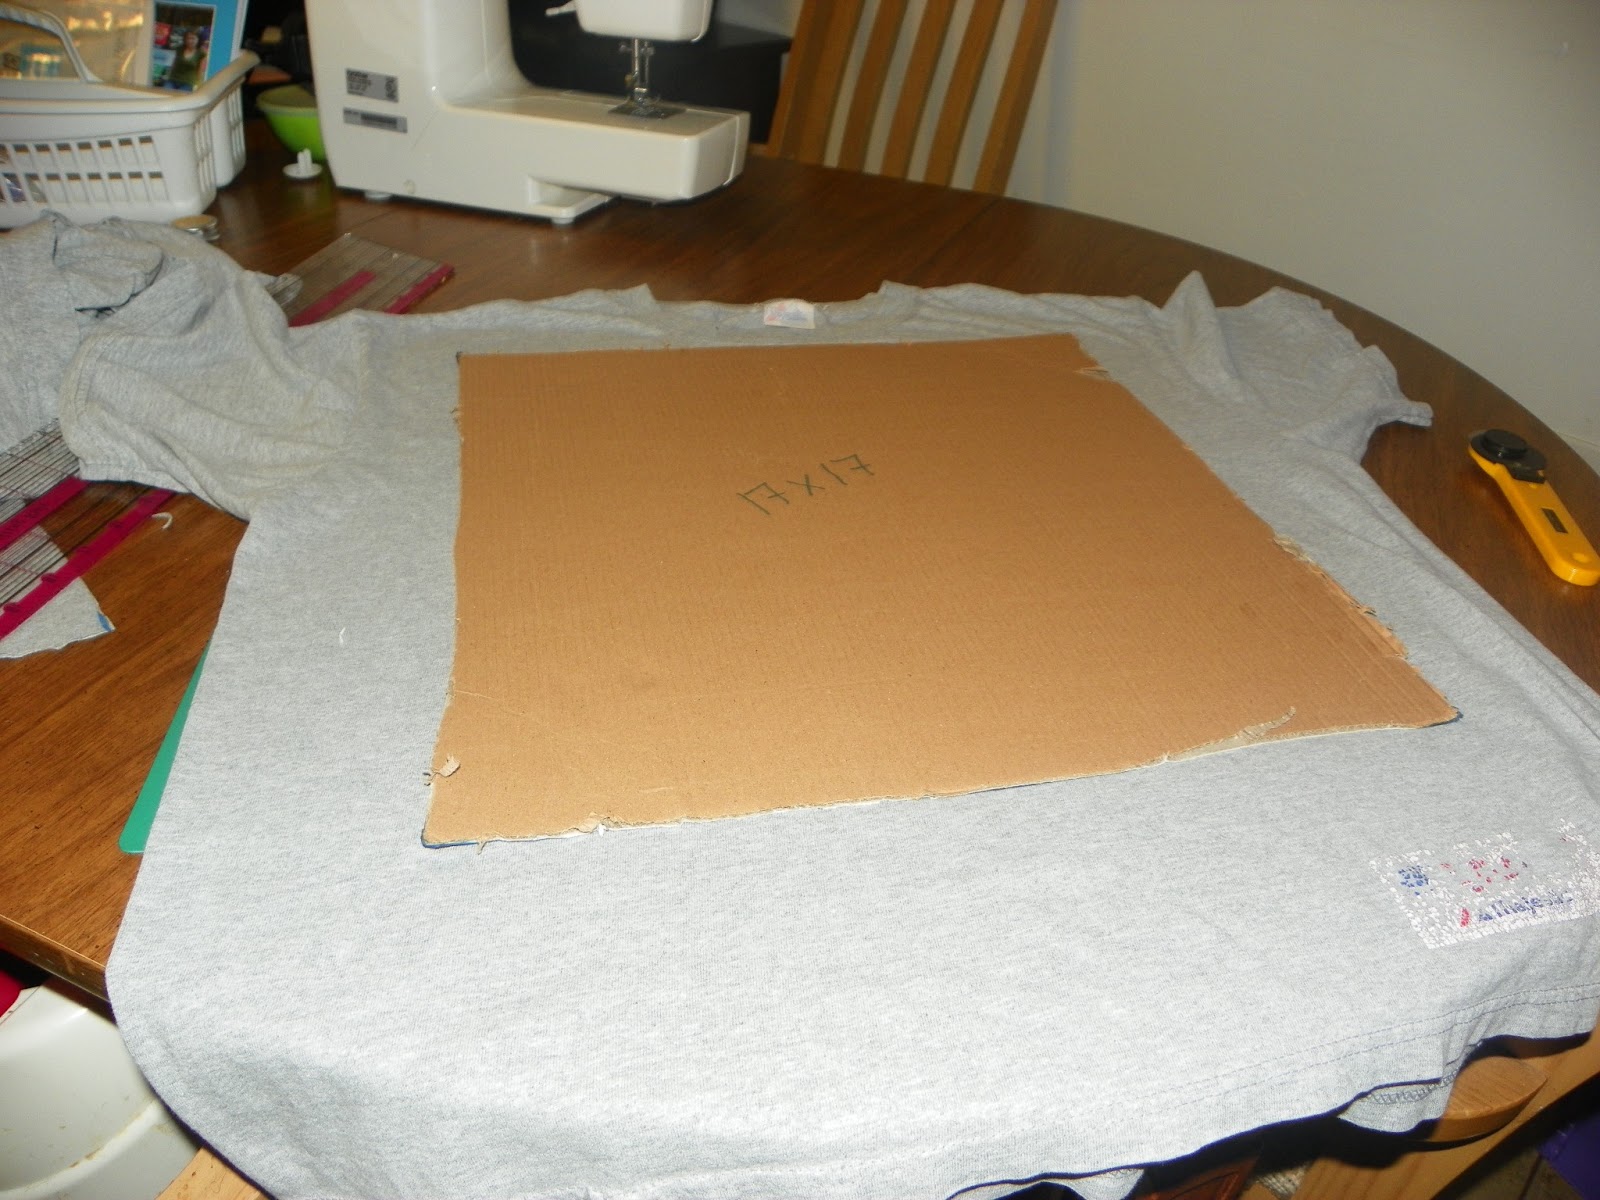
My template

3.  Measure and cut your squares.
To make it easier on myself, I made a template of my squares on a piece of cardboard.  I simply laid the template over the area of tshirt I wanted as a square marked the corners with a marker.  Using the ruler and the rotary cutter, I cut out the squares.  Once you've cut all squares, make sure you lay them flat so they don't wrinkle.


SEI White Sewing Table OC9665R (Google Affiliate Ad)

4.  Lay out your squares.
I drew myself a diagram to determine what colors would go where and then I laid my squares out on a clean blanket to get a feel for how the finished product would look.  Then, you can sew your squares together one row at a time.

5.  Sew your rows.
Your tension setting will have to be adjusted based on how stretchy your shirts are.  I'd recommend using your scraps to test it out before sewing the actual squares...these seams are REALLY hard to rip out!
**The hubby's grandma told me that you're supposed to press your seams...I didn't and it turned out ok, not perfect, but ok...so yeah...press your seams...mm-kay?
This is about half of my scraps...use these to test your tension!


6.  Sew rows together.
The middle rows are sewn together the top and bottom are just laid out...you get the idea :-)

7.  To be continued...
Now that my tops are sewn together, I need to pick out batting, backing and the edging...we'll continue this on another post!

Post Wedding Wrap Up

Hi All,

As you know, we got married!  I will be posting pics as soon as they come in, but for now, I'd like to share a few things...things that, had I to do it over again, I would change.

1.  I would have hired a wedding planner/coordinator.
No, I didn't need help planning my wedding...I actually found it to be pretty easy.  However, having someone on the big day to keep everything and everyone organized is something we really could have used.  There were a lot of things that went wrong that would have been avoided if we had someone like this.

2.  I would have hired all professionals.
I didn't heed the advice of nearly every wedding article and hired a few non-professionals who we knew personally.  Without going into any details or naming names, big mistakes were made by these people and there's nothing we can do about it now.  In addition, we were told to 'pay what we felt was fair' and it's now become an issue because we felt their job was done poorly.  So yeah...pay for the professional and avoid a headache later.

3.  Have plans in place for keepsake preservation before the wedding.
After the wedding, we toyed with the idea of getting my bouquet preserved.  However, flowers don't last forever and in the time we spent deciding if spending an extra $500 was something we were willing to do in order to keep those flowers forever, the flowers started to wilt.

4.  I would have spent more time enjoying my reception.
After pictures, we sat down to eat and I only got halfway through my food before I saw a few of our older guests getting up to leave.  Not wanting anyone to leave without getting to at least say 'hi', I abandoned my food...by the time I got back, my plate had been cleared.  So I really didn't get to eat hardly any of the food we paid for!  I also spent so much time running around that I didn't get to dance much, which was kind of a bummer.


All in all, yes, there are things I would change.  However, there are also a lot of things I wouldn't change...at the end of the day, we were finally married and we got to do so in the company of our closest friends and family.  The further away from the wedding we get, the more I forget about the things that went wrong and remember the good moment...walking down the aisle, saying our vows, our first dance...and the feeling that this was a great day.

Wednesday, March 13, 2013

Stress-free Wedding Planning

All the little details matter.
Photo by Norman Yu Photography

Hi all!  As many of you know, planning your wedding can be very stressful due to the amount of work, decisions and money that goes into it!  As I near the end of my countdown, here are a few tips that have helped me along the way:

1.  Use a checklist

Whether you choose to use an online version or print one out, these tools are invaluable!  Personally, I'm using the knot.com checklist because it has everything broken down by when it needs to get done.  It really does help you to make sure you don't forget anything or leave anything to the last minute!

2.  Don't put things off

I know it seems like forever before you're walking down the aisle, but trust me...that time FLIES.  Aim to check off at least one item per week on your checklist to keep up with things.  Set reminders on your calendar for deadlines such as payments to your vendors and dress fittings.

3.  Decide on a theme early

The sooner you have an overall vision for your wedding, the less time it will take you to decide on other things.  For example...if you decided that your theme will be "Starry Night" after the VanGogh painting, you can rule out the butterfly motif on all your paper products.

4.  Keep your fiance in the loop

Most guys don't care about the wedding day...they just want to know when and where to show up.  However, it never hurts to let them know what's going on to avoid any problems later.  For me, I'd assumed that since we're a fairly non-traditional couple that we'd be doing our wedding pictures before the ceremony to save time.  When I talked to my fiance about our day-of schedule, he informed me that he actually didn't want us to see each other until we met at the aisle.  Big surprise!  So yes...make sure that you check in with him from time to time to make sure he gets what he wants out of the wedding...it's his wedding too!

5.  Take some time off from wedding talk

Yes, your wedding is a big deal and deserves your attention and hard work, but don't run yourself ragged.  This is a special time in your life and you should get to enjoy it.  If you're feeling really stressed out, take a break!  Enjoy coffee with your friends or a date night with your fiance...and DON'T talk about the wedding! Or just chill out on your own with a good book and a piece of chocolate!
It's always good to treat yourself!

Saturday, February 16, 2013

Pretty Programs

Photo by Norman Yu Photography

As I mentioned in my last post, a great way to save on your wedding is to keep it simple with your paper products.  Even basic wedding programs can cost big bucks when you pay someone else to do them.  Let me be real with you for a minute...no one else gives a crap what your programs look like.  Seriously.  I'm sorry, I know, your heart is breaking and the image of fancy programs complete with ribbons and pearls and hand calligraphy are turning to mist before your eyes.  I'm sorry to burst your bubble, but I had to be honest with you.

The fact of the matter is, once the wedding is over, most guests will throw those programs away and never think about them again...if they even remember to take them home at all.  The purpose of a program is to let your guests know the order of ceremony and maybe the who's who of your wedding party.  Anything else is extra.  Yes, it's nice to share your love story in 10 pages or less, but come ON people...most of them know your story and if they don't, it's ok...they know how it ends!

So.  Now that we've gotten over ourselves let's get down to business making the nicest possible programs for the least amount of money...because the less you spend on paper the more you can spend on that honeymoon you want!

First...to the paper aisle!!
I'd recommend something heavier than printer paper.  You want it to be stiff enough to hold it's own.  I would go with card stock, which comes in a variety of colors and finishes.  I chose a pearl finish ivory card stock...very classy looking.  50 sheets for $11.99 at my Office Depot.

Second...formatting
To make an inexpensive project look more professional, I chose to print my programs two to a page longways...so they're long and thin.  You can definitely do yours differently, but I thought these looked more modern.  Unless you're going for a more contemporary design, center your text.  Test out different fonts to make sure that they are legible and that they fit on the page.  I know the calligraphy-like fonts are pretty, but they're no go to you if no one can read them.  I'd also save anything super fancy for the headings and let the regular text be a little more structured.

Third...TEST PAGE!
I cannot stress this enough: print. a. test. page.  DO IT.  You would be really pissed if you hit print on 100 programs only to find out that it cut off a line at the bottom or the heading was just a smidge too low on the page.  Plus, this give you and extra opportunity to check spellings and such.  Trust me...it's better to triple check something than to have to do it over.

Fourth...when in doubt, get some help.
For some reason, my printer hates me.  It never cooperates with anything I try to print.  I took my program in to Office Depot on a flash drive, and the girls at the printing desk did the rest...they even put my full sheets into their handy dandy cutting contraption and sliced my programs for me...a much better job than I could have done myself.

The end result was lovely and exactly what I wanted.  In total I spent $23 and some change for 100 programs.  That included the cardstock, formatting fee, printing, and cutting.  If you're looking for something even more fancy, you are welcome to print on vellum and use ribbon to attach them to some cardstock or doll them up with stick on gems (Martha Stewart's line has some really pretty ones).  Bottom line...you don't have to spend big bucks to have something nice!

Wedding Planning Tips

Ok, so I've been trying not to post about wedding stuffs so the big day will remain a surprise to my guests who also read my blog.  But...I'm an impatient person and I can't wait any longer...sad because there are only 43 days left!

Here are my most basic tips on keep your costs down and still have a beautiful wedding.

1.  Cut the guest list.
Ever wonder why this is on EVERY list about wedding budgets?  It's because it's the best tip out there...it really is!  Our original guest list was around 200 people...as you can imagine, that gets pricey.  We widdled it down to 75 and it was a lot easier than we thought.  We cut out friends we hadn't seen within the last year and we cut out the extended family that we rarely see or talk to...no 2nd cousins and the like unless we're close to them.
If someone approaches you about why they weren't invited, simply explain that you are working within a budget and you had to make tough choices about the guest list and chose to keep it to family and close friends only.

2.  Cut down on your decorations.
Flowers and linens and lighting all cost big bucks.  In order to cut our costs here, we opted for a venue that provided it's own beauty.  The only decor we're purchasing are the floral arrangements for the tables and the backdrop for the ceremony.  Realistically, it's better to invest in a nice venue than a bunch of decorations that you'll have to try to get rid of later.

3.  Cut back your bridal party.
I know, I know, you have 12 sorority sisters and they're all your besties, but the reality is, the more attendants you have, the more it's going to cost you.  Yes, they pay for their own dresses and such, but you have to give them each a gift and you have to feed them both at the wedding and at the rehearsal dinner...and their dates (traditionally).

4.  Food!
I've been to many weddings in my life and let me tell you, the food is always what I remember the most.  I went to a wedding where we had a lovely plated meal with steak and the like...it sucked.  There was another wedding I went to where they chose to go with their country wedding theme and roasted a whole pig and had homemade salsas and it was de-lic-ious!  Don't assume that because it's fancy that it tastes good or that because it's expensive that it's better.  Do the tasting.  Be honest with yourself about what you think people will eat.  If the caterer is too pricey, try asking for a lower price.  Sometimes, they're willing to give you a deal in order to keep your business.

5. Pay cash as much as possible.
I found that vendors were more willing to give me a discount when I offered to pay cash up front.  It guarantees that you're not going to stiff them or be late with payments.  Also, cash vs. credit saves them a percentage...credit cards charge businesses to use them.  A word of caution on this...be absolutely certain that's the vendor you want before paying because a lot of them won't refund your cash.  Make sure to get a very specific contract before handing over any money.

6. Don't waste your money on paper.
I know those fancy pants invitations and cutesy save the dates are very, very tempting.  But you and your parents are probably the ONLY people who will ever think twice about them.  Most people will throw them in the trash right after the wedding.  Same goes for programs.  There are tons of great DIY kits out there and the friendly folks at your local Office Depot are more than happy to help you print everything out juuuust right.

7.  Take a deep breath and remember the most important thing.
This is your wedding.  At the end of the day, as long as you two are married, it was a perfect day.  Don't let the details stress you out because 50 years from now, you'll probably forget the pattern of the linens and the cute little escort card details...you'll remember the way you looked at each other when you said, "I do."