1. Gather your shirts.
I used 16 large shirts for one blanket. I washed and dried them and stacked them flat so they wouldn't wrinkle. You may want to iron them, but I didn't...you have to be careful to not iron certain designs as they can't stand up to direct heat.
 |
| Just a small selection of the tshirts I used... |
2. Decide how big you want your quilt and squares to be.
I did a 64"x64" quilt...so I wanted all of my squares to be 16" when sewn. I gave myself a 1" seam allowance on all sides, so when I cut my squares, they were 17"x17". Yes, a 1 inch seam allowance is larger than normal...but I don't sew, so I gave myself extra space.
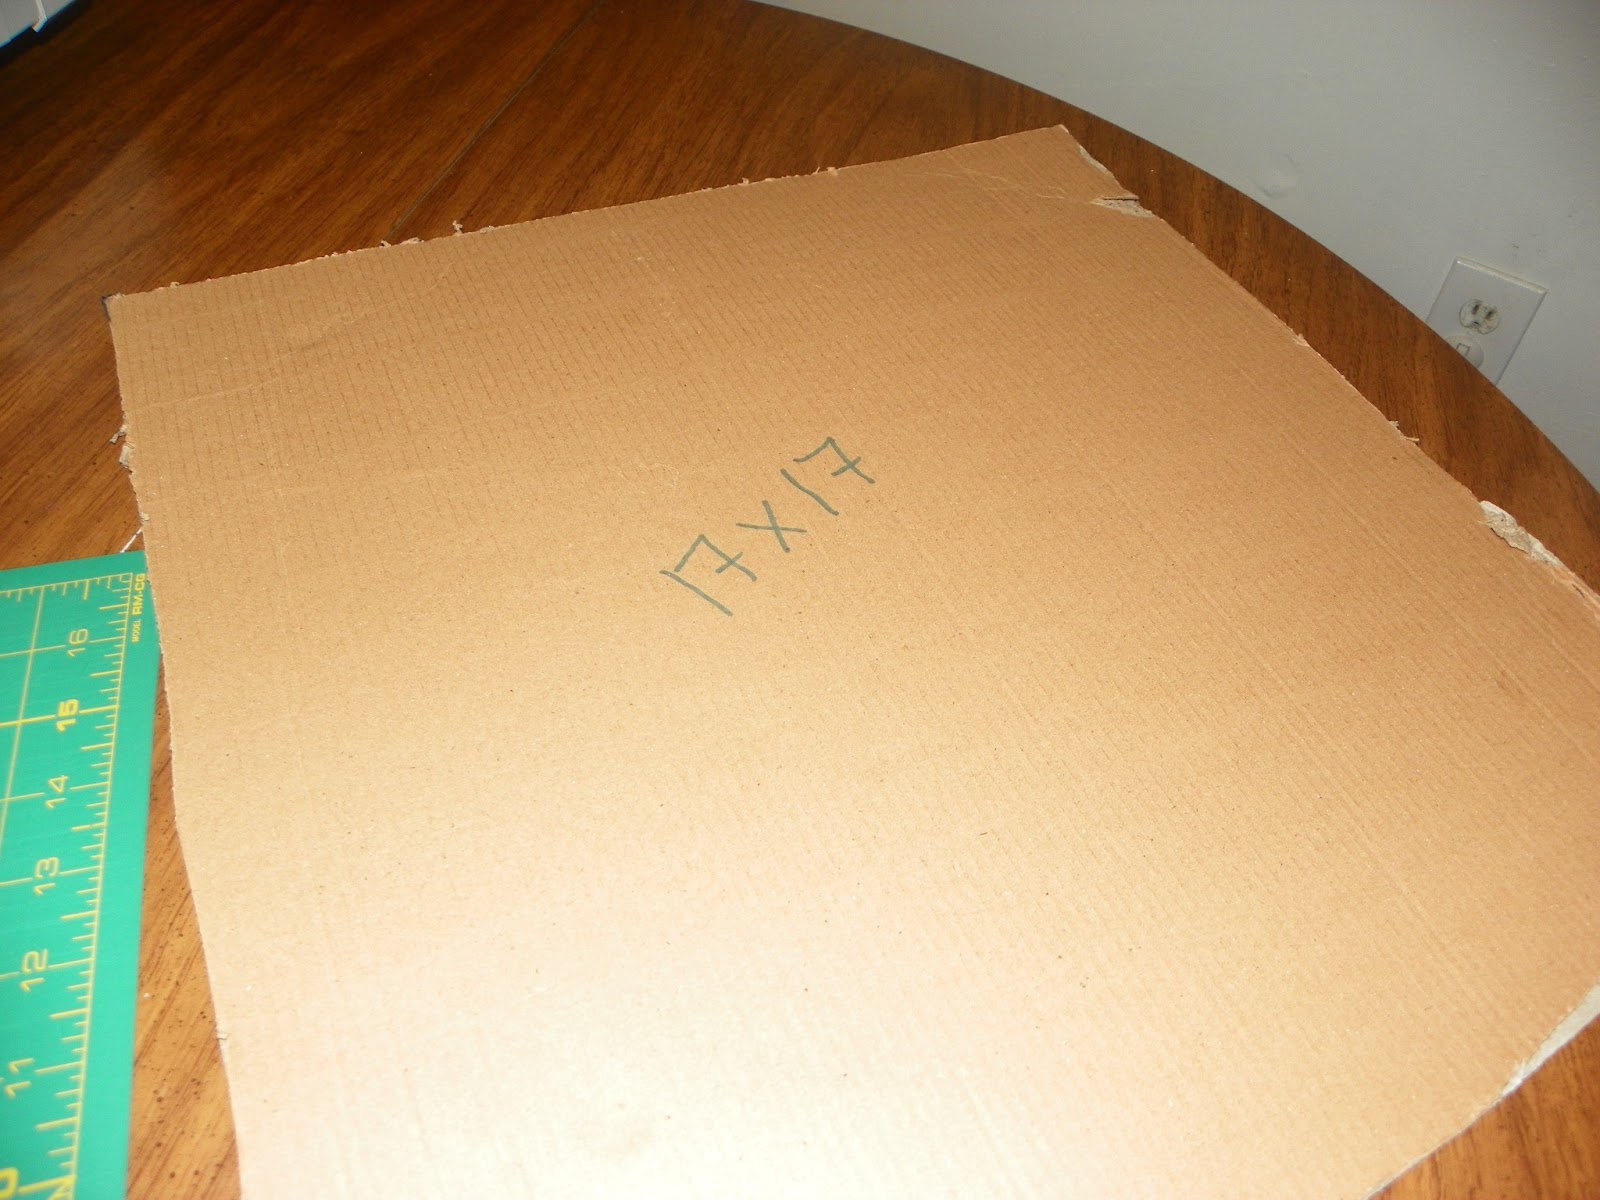 |
| My template |
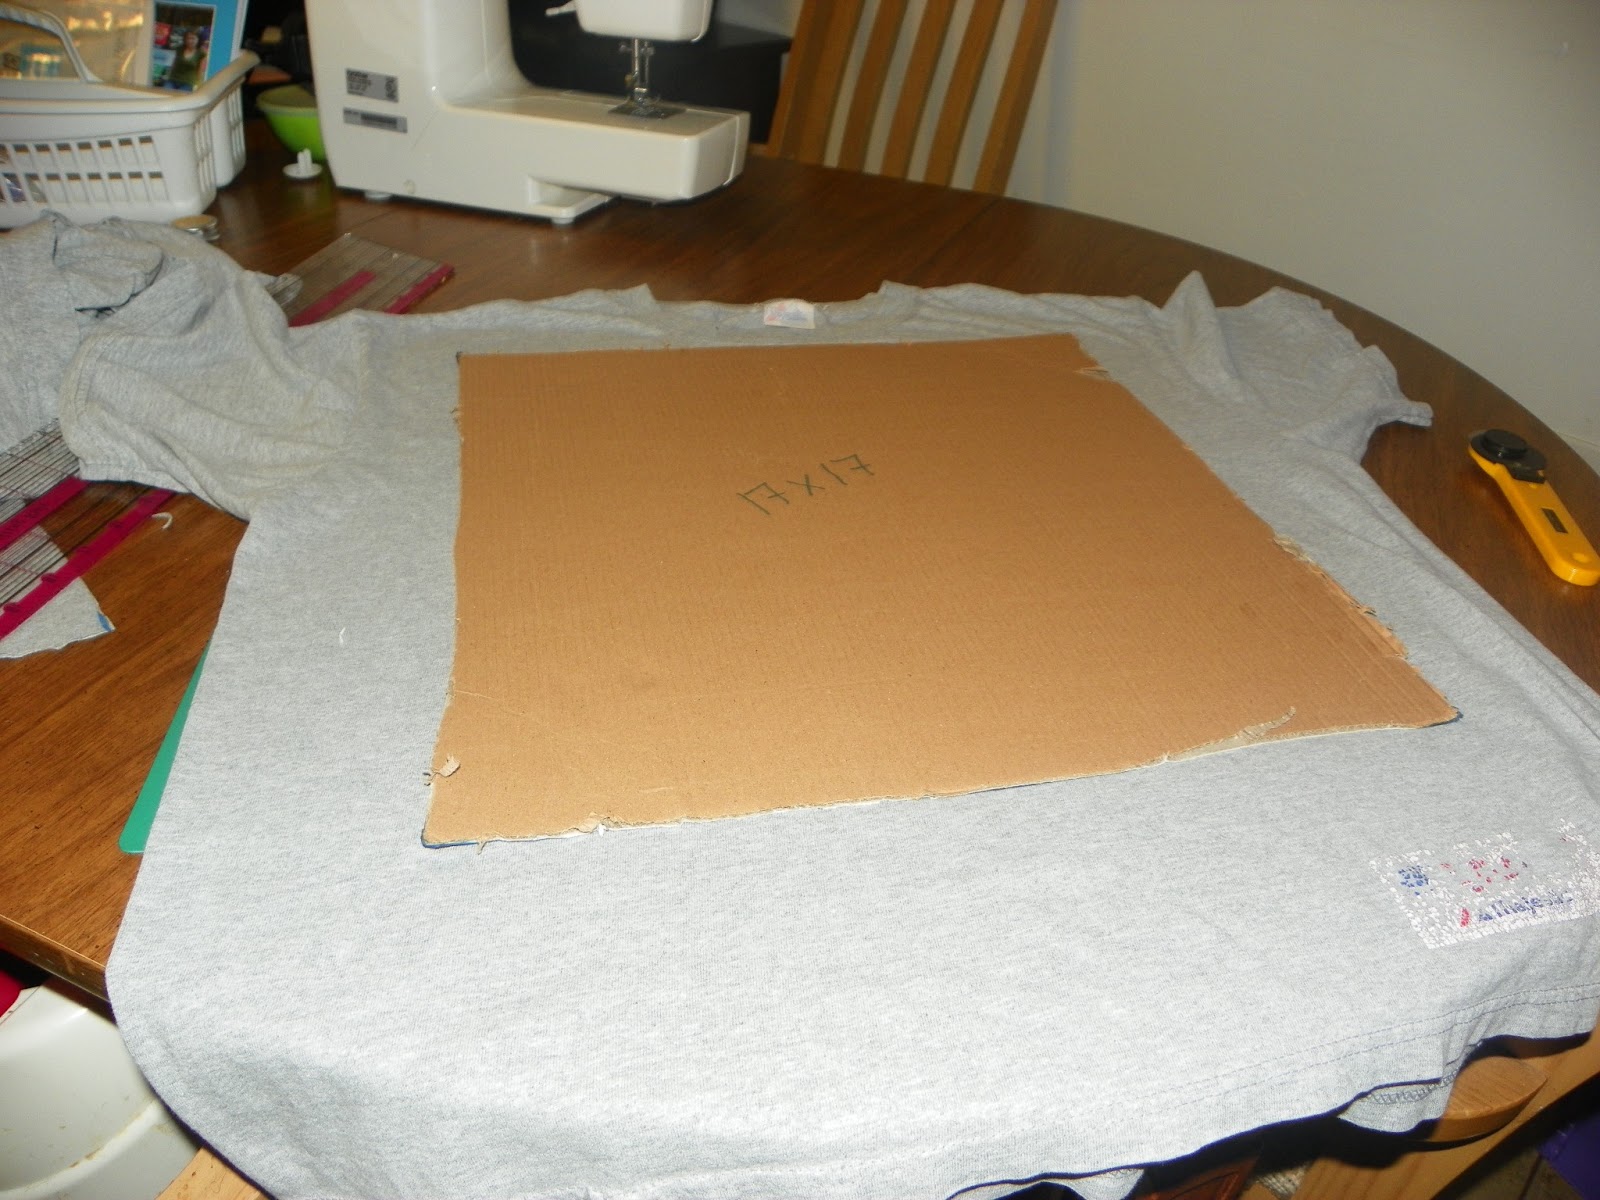
3. Measure and cut your squares.
To make it easier on myself, I made a template of my squares on a piece of cardboard. I simply laid the template over the area of tshirt I wanted as a square marked the corners with a marker. Using the ruler and the rotary cutter, I cut out the squares. Once you've cut all squares, make sure you lay them flat so they don't wrinkle.


4. Lay out your squares.
I drew myself a diagram to determine what colors would go where and then I laid my squares out on a clean blanket to get a feel for how the finished product would look. Then, you can sew your squares together one row at a time.
5. Sew your rows.
Your tension setting will have to be adjusted based on how stretchy your shirts are. I'd recommend using your scraps to test it out before sewing the actual squares...these seams are REALLY hard to rip out!
**The hubby's grandma told me that you're supposed to press your seams...I didn't and it turned out ok, not perfect, but ok...so yeah...press your seams...mm-kay?
 |
| This is about half of my scraps...use these to test your tension! |
6. Sew rows together.
 |
| The middle rows are sewn together the top and bottom are just laid out...you get the idea :-) |
7. To be continued...
Now that my tops are sewn together, I need to pick out batting, backing and the edging...we'll continue this on another post!
No comments:
Post a Comment